Introduction
Preserving herbs from your garden is a fantastic way to enjoy their flavors and benefits year-round. While there are various methods for preserving herbs, drying them is one of the simplest and most effective. In this guide, we’ll explore how to create your very own DIY herb drying rack, allowing you to efficiently dry and store your garden herbs for later use.
- Understanding the Importance of Drying Herbs Before delving into the DIY aspect, it’s essential to understand why drying herbs is such a popular preservation method. Drying herbs helps to extend their shelf life significantly while retaining their flavors, aromas, and nutritional properties. Whether you’re an avid cook or simply enjoy the aroma of freshly dried herbs, having a supply on hand can elevate your culinary creations.
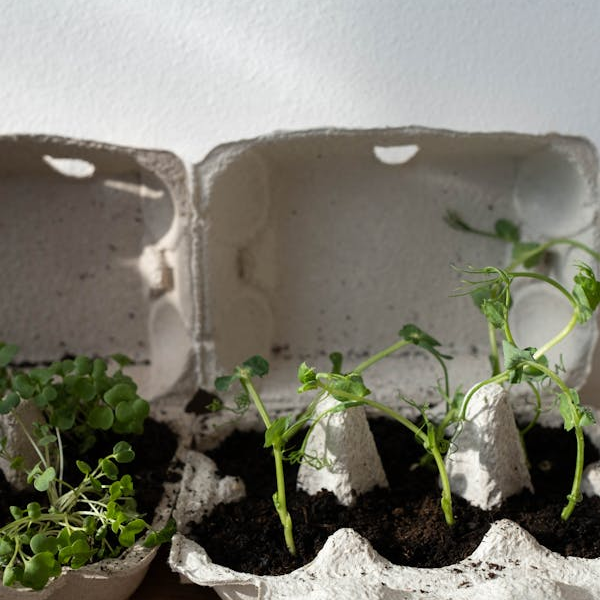
- Selecting the Right Herbs for Drying Not all herbs are created equal when it comes to drying. While many common culinary herbs, such as rosemary, thyme, oregano, and sage, dry exceptionally well, others like basil and parsley are best preserved through freezing. Before embarking on your herb drying journey, consider which herbs you have in abundance and which ones will benefit most from drying.
- Materials Needed for DIY Herb Drying Rack Creating your own herb drying rack is a straightforward process that requires minimal materials. Here’s what you’ll need:
- Wooden frame or dowels
- Twine or string
- Scissors
- Clothespins or clips
- Optional: hooks for hanging
- Building Your DIY Herb Drying Rack Now that you’ve gathered your materials, it’s time to assemble your DIY herb drying rack.
- Follow these steps:
- a. Measure and cut your wooden frame or dowels to the desired size. This will depend on the amount of space you have available and the quantity of herbs you intend to dry.
- b. Arrange the wooden pieces to form a grid-like structure, leaving enough space between each piece for air circulation.
- c. Secure the pieces together using twine or string, tying knots at each intersection to ensure stability.
- d. Attach hooks to the top of the frame if you plan to hang it from the ceiling or wall. Alternatively, you can prop it up on a countertop or table.
- Hanging and Drying Your Herbs With your DIY herb drying rack assembled, it’s time to start drying your herbs. Follow these steps for optimal results:
- a. Harvest your herbs early in the day when their essential oils are most concentrated. b. Rinse the herbs gently under cold water to remove any dirt or debris, then pat them dry with a clean towel.
- c. Bundle small bunches of herbs together using twine or string, tying them loosely to allow for airflow.
- d. Hang the herb bundles upside down from the wooden dowels on your drying rack, ensuring they are spaced apart to prevent overcrowding.
- e. Place the herb drying rack in a warm, dry area with good air circulation. Avoid placing it in direct sunlight, as this can cause the herbs to lose their flavor and color.
- f. Check on your herbs regularly and remove any that are fully dried. Depending on the herbs and environmental conditions, drying times can vary from a few days to a couple of weeks.
- Storing Dried Herbs for Longevity Once your herbs are fully dried, it’s essential to store them properly to maintain their quality over time. Here are some tips for storing dried herbs: a. Remove the dried herbs from the drying rack and gently remove the leaves from the stems, discarding any woody or tough parts. b. Transfer the dried herb leaves to clean, airtight containers such as glass jars or resealable bags. c. Label each container with the name of the herb and the date it was dried to keep track of freshness. d. Store the dried herbs in a cool, dark place away from heat and moisture, such as a pantry or cupboard. e. Avoid storing dried herbs near spices or other strong-smelling ingredients, as they can absorb unwanted odors.
- Creative Uses for Dried Herbs Now that you have a supply of dried herbs at your disposal, it’s time to get creative in the kitchen. Here are some inspiring ways to use your dried herbs: a. Infuse olive oil with dried herbs to create flavorful dressings and marinades. b. Mix dried herbs into softened butter for a tasty herb-infused spread. c. Add dried herbs to soups, stews, and sauces for an extra layer of flavor. d. Create homemade seasoning blends by combining dried herbs with salt, pepper, and other spices. e. Use dried herbs to make herbal teas and tisanes for a soothing and aromatic beverage. f. Incorporate dried herbs into homemade bath and body products such as bath salts and body scrubs for a natural fragrance.
Conclusion
Creating your own DIY herb drying rack is a rewarding project that allows you to preserve the flavors and aromas of your garden herbs year-round. With just a few simple materials and a little bit of time, you can enjoy the benefits of freshly dried herbs in your culinary creations and beyond. Whether you’re a seasoned gardener or just starting out, incorporating dried herbs into your routine is a sustainable and delicious way to elevate your cooking and enhance your wellbeing. So why wait? Get started on your herb drying adventure today and savor the taste of homegrown goodness with every sprinkle of dried herbs from your DIY drying rack.